Showing posts with label sewing. Show all posts

Saturday, March 5, 2011

Hanging Sewing Machine Organization

A while back I bought the weighted pin cushion/thread catcher that is next to my machine.
While I was at the quilt shop where I bought it, I got some coordinating fabric to make the under machine hanging organizer. I finally got around to it, and I have no idea what took me so long. It was so easy and only took about 10 minutes to make. I wish I had tutorial pics!


I had a fat quarter of the blue fabric and a half yard of the red with scissors.
I cut the red to the fat quarter size and used the extra to make a pocket.

The pocket is simply a piece of fabric the width of the whole piece and then folded in half (the fold being the top) and then sewn to the blue fabric in straight dividing lines for separate pockets.

I then laid the blue fabric (with pocket sewn on) and the red backing fabric right sides together. I added a piece of batting, stitched around the edges. Clipped the corners. Turned it. Topstitched and done!

Very easy. And so functional.
This fabric will look great in my sewing room once I can find it. :)
It is buried project fury, currently. Hence my sewing machine on the kitchen table. hehe.

Wednesday, October 13, 2010

Couch Pillows

After much anticipation (here, at our house) we finally have a start to new couch pillows!
Two down. Two to go.


I wanted a scrappy look... I think I got that.


I did the backs like this so I can switch these puppies out as my mood changes... err... maybe not quite that often!

Ta Da!

Another Rag Quilt

This little number was a baby gift. I always try to make something as a gift, and this particular day, I was feeling the need to make a rag quilt!

The fabric was all scraps of flannel I had.
I kind of like the random mismatched squares.

A-Line Skirt

Here are some skirts I made using this super-easy, no pattern tutorial I found here!


Tuesday, September 28, 2010

An Apron for the Tot

Because Jakey loves to help in the kitchen so much, I decided he needed a tot sized apron to help him dress the part and possibly save his clothes from the inevitable spills.

I used a commercial pattern for a child's apron to get a basic shape and size but ended up modifying it to make the straps adjustable so he can grow into the apron for a while.

Instead of using a separate neck strap and ties, I made them the same piece. That makes the apron adjustable.
I just put a casing in along the side of the apron and then slid in the ties.
The ties can be pulled to shorten the neck strap,
or they can be loosened to make it bigger.

Tot approved.

Sunday, September 26, 2010

My First Rag Quilt

Wanting to make something homemade for a baby gift, and fast, I dug out all of my "boy" scraps and made this rag quilt.

It is all out of simple cotton prints.
I could have added batting to the individual fabric sandwiches, but I didn't since the baby is a summer baby and will outgrow the blanket before it is cold enough to need it.

Anyway, I thought it was pretty cute and it cost me nothing and took me only about 2-3 hours.
Sweet!

Toddler Tie

Way back for Easter, I made Jake a "Lil Guy Tie" using Ashley at Make it and Love it's pattern.
You can buy the pattern HERE!

We get lots of compliments at church, and I think he looks pretty cute as well.
:)

A New Key Fob

My first attempt at a fabric keychain was a bit rushed and kind of sloppy, so I decided to give it another go and actually follow the tutorial, Here, at The Idea Room.


Here is my second attempt and it looks tons better.
Plus, I used some cute canvas from Hob Lob and it is much sturdier.

You should try one!

Friday, June 4, 2010

Lil' Man's Back Pack

We're in that stage where standing still for just one quick picture is, in fact, too much to ask.

That's okay. This post is more about the backpack anyhow.

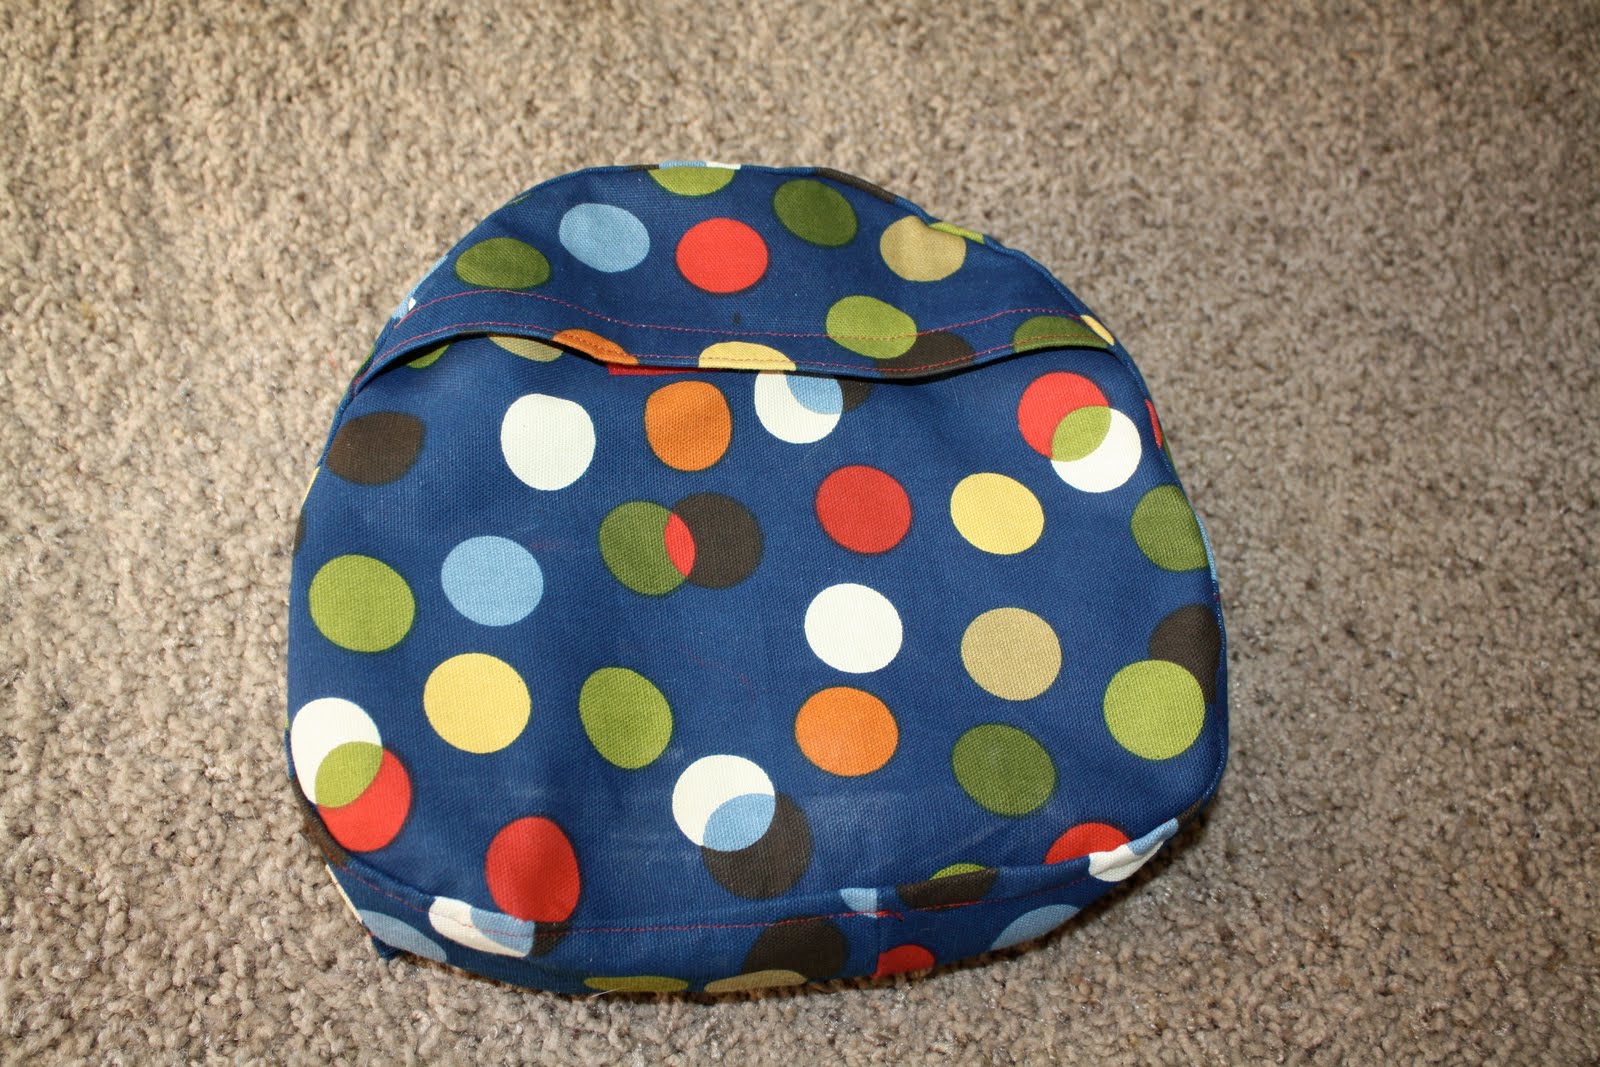
This was my second attempt using this tutorial.
Of no fault of the pattern maker - I just didn't follow directions every well the first time.

I highly recommend actually using the interfacing (even if you are using a heavier weight home decor fabric) and cutting the long side strip first to make sure you have enough fabric.
My first attempt was made from a remnant of this same fabric. After messing it up - I went back to the store and bought a piece of the exact fabric at full price! :)
Oh well, Jake LOVES his backpack.

It is a fun little quick project.
I see many more in my future!

Sunday, March 14, 2010

A St. Patty's Day Outfit for the Boy!

I love making holiday themed shirts and things for my one year old.
For St. Patty's Day this year he will be sporting this:

I bought all of the fabric at Hobby Lobby.
For the shirt, I ironed on some wonder-under to this fabric.
Then, I carefully cut out 3 different printed shamrocks.

I took the pocket off of this shirt with my seam ripper and then ironed on the shamrocks across the front.

After quickly stitching these on with my machine, we were all set!

For the pants, I ironed on some more wonder-under to the back of the diamond fabric.

I used some brown packing paper to make a pattern for the knee patches.
I traced the top of this jar lid, slid it down an inch or so and then traced the bottom.

I connected to top semicircle with the bottom to make an oval and then cut out the pattern piece.

See?

I traced and cut two of these ovals from my fabric.

I ironed on the patches to the pants.
(My $1.25 find at Target, BTW.)

I then went to my machine to sew the patches on.
When I realized that the pant legs were never going to fit over the arm of my machine, I opted for option B. Sew by hand.

When I got to the end, I grabbed a small amount of the pant fabric that was hidden under the patch (careful not to go through the patch) and pulled the thread ALMOST tight. When I had a little loop close to the pants, I wrapped my needle around it three times and pulled it tight.
(A small sewing tip that I learned and thought I would share.)

This is what it looked like.
Do the other side and you are all set!

I think he will look cute and he definitely wont get pinched this St. Patty's Day!

Thursday, January 7, 2010

Christmas Gifts 2009

Feeling super creative and a bit off my rocker this Christmas, I decided to go homemade.

3 sock monkeys for 3 nephews

A tote for the niece that reads... a lot.
(A tutorial is coming, since I patterned it after my own thoughts and it was sew easy!)

And, Black Apple Dolls, for the youngest nieces.

I do have two other gifts to share, but the memory card they are on are in the camera that when to the camera doctor. :( Soon. I hope. Anyway, I can't wait for other gift giving opportunities so that I can make more fun stuff!

Monday, August 31, 2009

Fabric Barn

Today while waiting to the glass man to come by and replace my windshield, I made this little barn. I found the instructions on UK Lass in US via UCreate. The tutorial is Here. I had a little trouble (Me and the seam ripper were best friends!), but for my first attempt, I am pretty happy. Now, I just need to decide if I am crazy enough to make cloth animals, or if I should just head over to Walmart for some Chinese imports. :)

Here's the outside, front.

The back, showing mostly my "silos".

The back, showing my tree and tree swing.

And, the inside. All I have is a path, pond and stack of hay. (yes, that is supposed to be hay.)
I ran out of ideas and my fingertips were done being burned. :)
Maybe next I will attempt a doll house!

Tuesday, August 25, 2009

Baby Toys

I got a sewing bug last night... and made these! Fun little toys! I just used fabric I had around the house, and it was really fun. You should do it too!

I have been reading a lot of Make it and Love it. I love her! She makes the cutest stuff, and it is pretty simple to do as well.

I used this tutorial to make this block.
I am waiting on some more fabric, and then I plan to make more colors.
I added a little ribbon tag because my baby loves tags and I saw it somewhere else.

And then I used this tutorial to make these letter bean bags.
I used felt. Don't enlarge and look at my poor sewing. :) I had a little trouble, but by the end I was doing a lot better.

And, lastly, I used this tutorial to make this giraffe. The front is flannel and the back is corduroy. The flannel frayed a bit while I was hand stitching and was a pain, but I love this fabric! I think it works well for a giraffe. What do you think?