Showing posts with label kids. Show all posts

Saturday, March 5, 2011

Toddler Boy Quilt

One of my little guy's first words was "Melmo" meaning Elmo.
A few words later he learned to say "Buzz!" with much excitement. And, with the release of Toy Story 3, Buzz was everywhere. No matter where we were there was sure to be a Buzz to point out. After those two came "choo choo" (Thomas), "Orge" (Curious George), and Cars.

As much I would love for him to be into more mature colors, Americana plaids and stripes, the truth is that this kid loves his characters. They are familiar, and when he says their names we understand him - which makes for a very happy toddler - since he is often misunderstood and therefore frustrated.

Anyway, after seeing the new Toy Story fabric come into the Hob Lob where I work, I knew that I had to make my little guy a quilt with all of his favorite friends.

So, here it is!:

The quilt is about 40'x 50". Each Character is an 8" square and is paired with (2) 1 inch strips on one side and (1) 2 inch strip on the other to make a 10 inch finished block size.
In order to mix all of the different colors from the character fabric I did a thin 1" sashing throughout and a 2" boarder. I simplified the quilt by sewing the front, back and batting right sides together and then flipping and topstitching.

I quilted it with random swirls, numbers, and shapes on my regular machine with a free motion foot. It took some practice, but I got it done with okay results.


He loves it and so do I!

Wednesday, August 18, 2010

Evolution of a Cape

This post is ridiculously overdue.
Months ago for a girls night activity, I was asked to figure out how to recreate this cape (below) from pottery barn.


At first, I took the literal approach. I traced the cape onto some butcher paper and made prototype number one. The only structural difference between this cape and the original is the fabric. This fabric is cotton because that is what I had on hand. This cape is made of three main pattern pieces and then a band at the collar as well as flaps for velcro. Having the three main pieces made the cape have a back and then two arm pieces that wrapped around the wearer's body. A little Dracula style.


Next, I tried a different fabric since the cotton really wasn't flying well.
This is still the same structure, but with one side in poly satin for shine and flight and the other side in cotton for color and whimsy.
It turned out to just be too much cape.

My next cape was just a little too far in the opposite direction. Too little cape.

Trying to find a middle ground, I ditched to two side arm pieces.
This cape was alright, but not fantastic. I put the velcro tabs too low, and that bothered me.


Then, it hit me. Simplify. Make the whole cape one piece!
I immediately pulled out my pattern paper (a large roll of butcher paper) and drew half an a-line shape with half of a U shape where the back of the neck would be.

I cut the pattern out on the bold of two colors of satin, sewed on some velcro. Sewed the two pieces right sides together, clipped my edges, flipped it right side out and topstitched.
It turned out great! And teaching others to make it went pretty good too!

Friday, June 4, 2010

Lil' Man's Back Pack

We're in that stage where standing still for just one quick picture is, in fact, too much to ask.

That's okay. This post is more about the backpack anyhow.

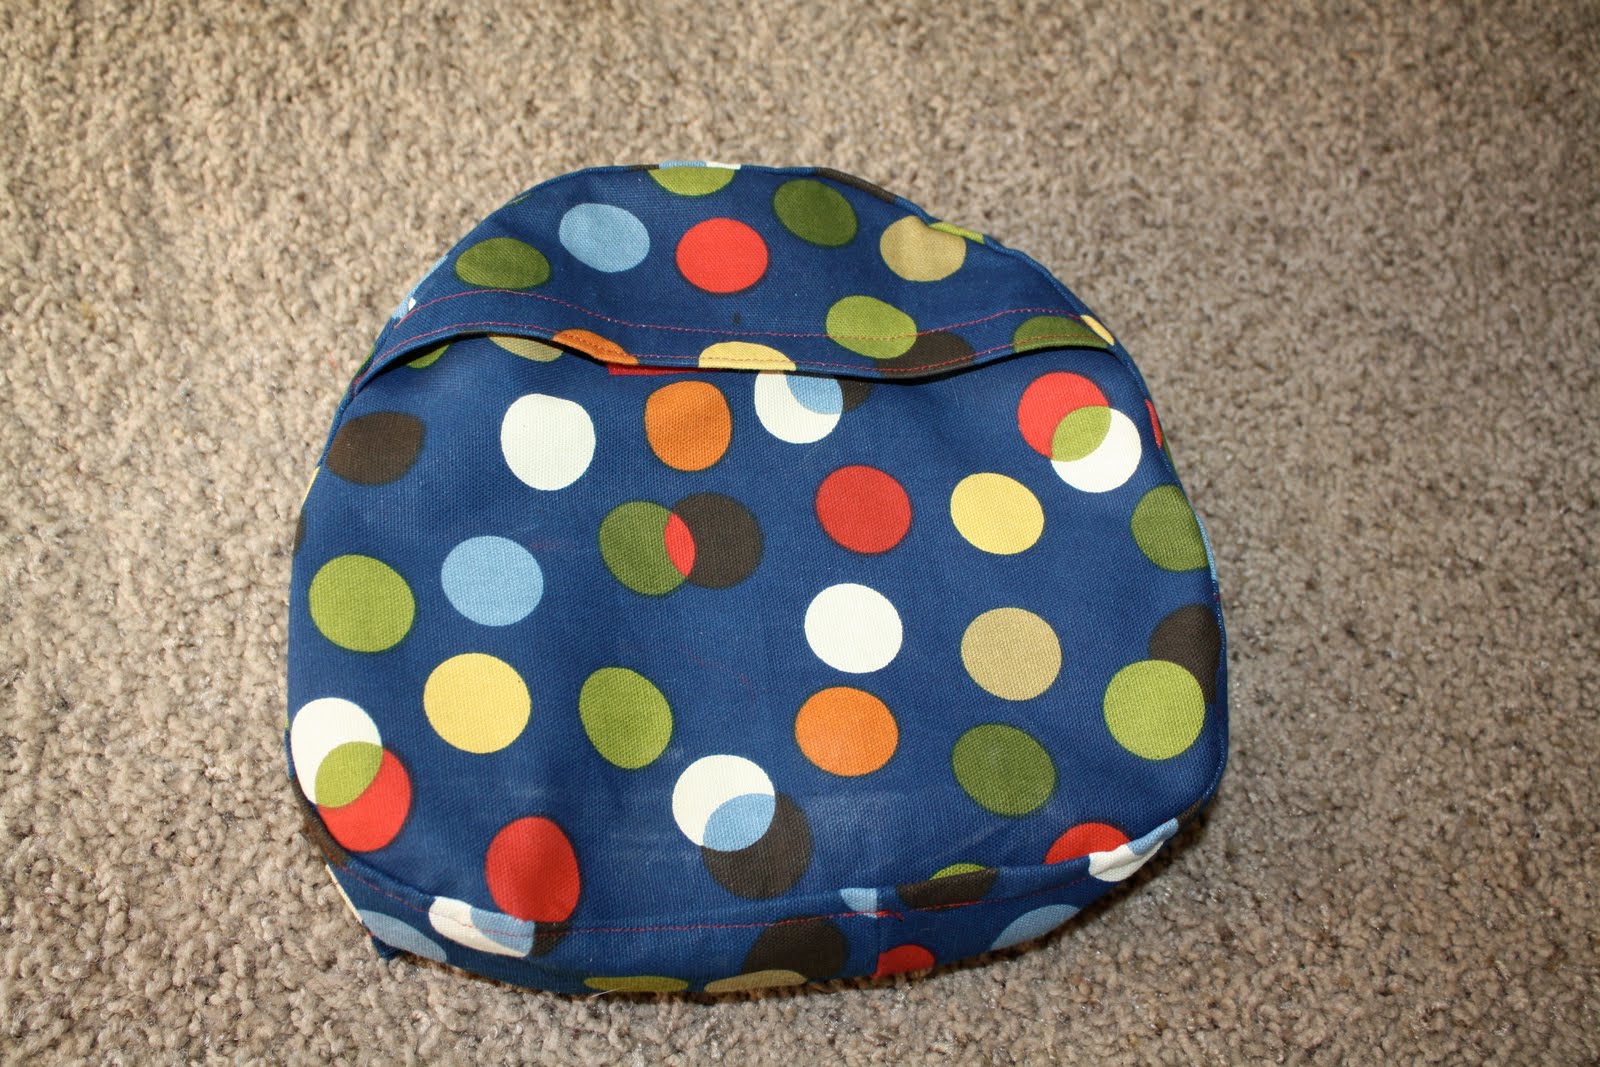
This was my second attempt using this tutorial.
Of no fault of the pattern maker - I just didn't follow directions every well the first time.

I highly recommend actually using the interfacing (even if you are using a heavier weight home decor fabric) and cutting the long side strip first to make sure you have enough fabric.
My first attempt was made from a remnant of this same fabric. After messing it up - I went back to the store and bought a piece of the exact fabric at full price! :)
Oh well, Jake LOVES his backpack.

It is a fun little quick project.
I see many more in my future!

Tuesday, June 1, 2010

Abby Cadabby Tutu

On a whim one day, I decided to make a tutu.
I cut fabric for Hobby Lobby, and I get a lot of questions about how to make the tulle tutus that everyone is doing right now.
Since I don't have a girl, I didn't know.

I now know one way to make a tutu and I have answered many questions since.

I used two yards of tulle and cut it myself with my rotary cutter, but I do have plans to use the spools very soon in a Fourth of July variation!

Deciding that this tutu would be for my niece who is a Sesame Street fan, I made it in Abby Cadabby colors. Complete with a fairy wand!

This is the tutorial I referenced. Mostly for the wand.
(I corked those ribbons in the oven, another test I was running for customer questions.)

Jake was good enough to try on the tutu for me.
Just once.
My husband was not happy.

Tuesday, March 30, 2010

A Quick Belt

My 16 month old is tall and skinny which means his pants are always falling off of his bum, yet are somehow high waters. This is why we were in desperate need of some belts to keep those britches up!

I bought a yard of webbing and some D rings the same size as the webbing.
I cut the webbing down to size by measuring a pair of my son's pants and adding a couple inches. I think I cut these at 18 inches, but I would make it longer if I did it again.

Next, I put both D rings over the edge of the webbing and then looped the end over them to prep for sewing.

I used a zig zag stitch to sew this loop closed.
This is what it looks like. I wish my zigzag would have worked more like a satin stitch, but it didn't. Don't look too closely.
The next part is finishing off the other end of the webbing.
I just remembered to fold the webbing end opposite of the way you folded the end with the D rings

And there you go. Repeat in a million colors and hand them over to your toddler.

Wednesday, February 3, 2010

Crayon Roll Up

I made Jake this crayon roll today.
Jake isn't really into coloring yet, but I am ready when he gets the urge! :)


I followed this tutorial exactly and it worked great!

Thursday, January 7, 2010

Mini-Men!

So, I work at Hobby Lobby, right? And I see these little wood people all the time.
I recommend them to people too.
No one buys them.
I intend to change that.

Meet Mini-Men.
Using some flannel I had (hoping it frays less than other alternative fabrics), I made capes for these little figures.


From the left you have, Pirate Guy, Belt Buckle Man, Elephant Wearer, and Mr. Mask No Cape.
(I dunno! I was just messing around. Testing. If you will.)


This is my lady version.
Sending her to my niece.
I used sharpie for the men's eyes, and colored pencil for the lady.
All the glueing was done with hot glue. I guess we'll see how they hold up.


Monday, August 31, 2009

Fabric Barn

Today while waiting to the glass man to come by and replace my windshield, I made this little barn. I found the instructions on UK Lass in US via UCreate. The tutorial is Here. I had a little trouble (Me and the seam ripper were best friends!), but for my first attempt, I am pretty happy. Now, I just need to decide if I am crazy enough to make cloth animals, or if I should just head over to Walmart for some Chinese imports. :)

Here's the outside, front.

The back, showing mostly my "silos".

The back, showing my tree and tree swing.

And, the inside. All I have is a path, pond and stack of hay. (yes, that is supposed to be hay.)
I ran out of ideas and my fingertips were done being burned. :)
Maybe next I will attempt a doll house!